Energy-Saving Renovation for Old Centrifugal Pumps
2025-10-30
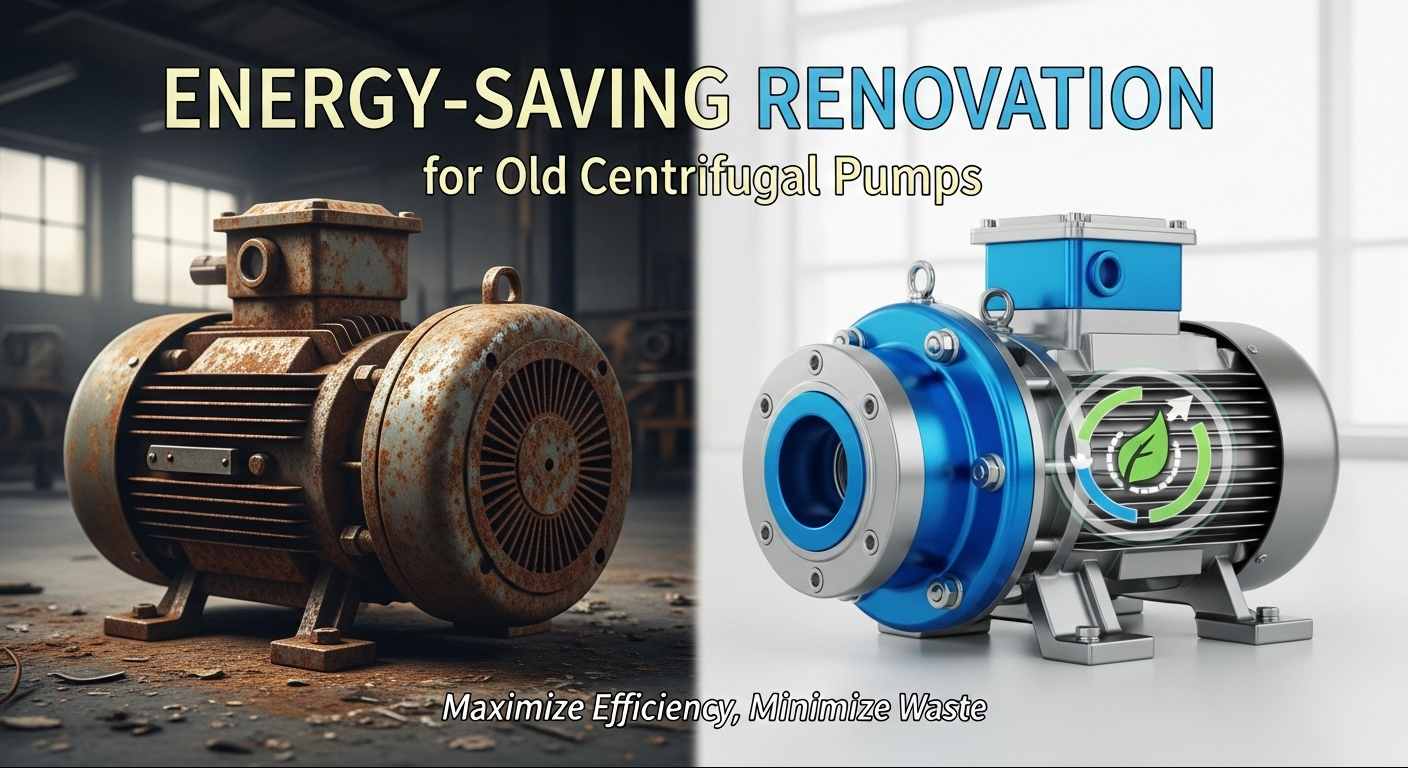
Most old centrifugal pumps guzzle a lot of energy—mainly 'cause their parts are worn out from years of use, and the system just isn’t set up right. But here’s the thing: if you stick to the idea of "upgrading core components + optimizing system matching", take it step by step with standard procedures, and actually verify the results properly, you’ll definitely cut down on energy use and make the equipment last longer. Trust me, I’ve seen this work time and time again with old pumps.
I. Upgrading Core Components
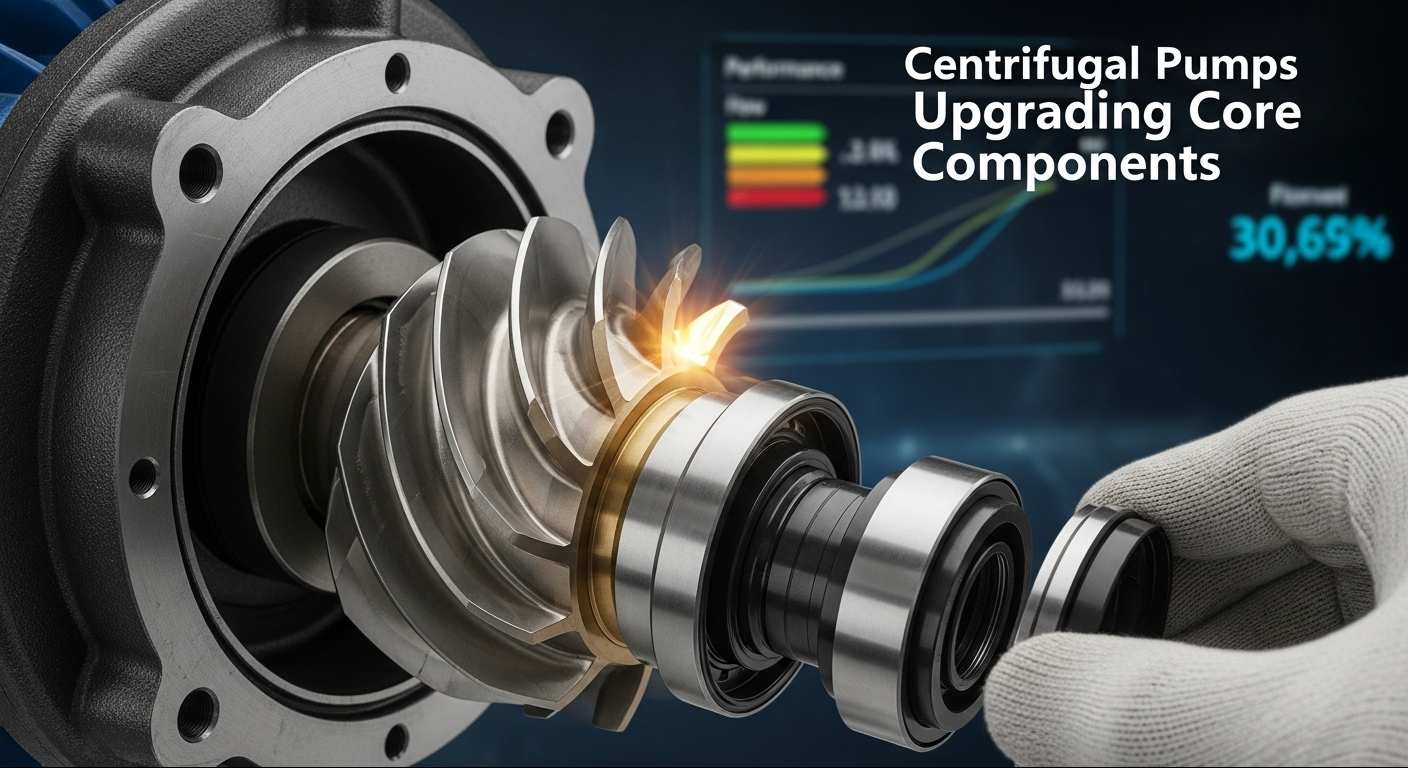
Worn core parts are the biggest culprit behind high power bills. Focus on these, and you’ll see improvements fast—no need to overcomplicate it.
Impeller Optimization: First off, go for energy-saving impellers with hydraulic efficiency over 85%. Pick stainless steel or wear-resistant material based on what you’re pumping; if the medium has gunk in it, open impellers are the way to go. When swapping it out, keep the gap between the shaft and impeller hole around 0.02 to 0.05 millimeters—don’t guess, use a feeler gauge if you have one. After installing, give it a spin by hand to make sure it turns smoothly, no jitters or scraping.
Seal Upgrade: Ditch the old packing seal and swap it for a mechanical one—this keeps leakage under 5 milliliters an hour, which is a game-changer. Before installing, wipe the sealing surface clean—even tiny scratches can cause leaks. Make sure the rotating and stationary rings are perfectly parallel, too. Choose the material based on the medium’s temperature: silicon carbide works great for high heat, for example. And don’t over-tighten the spring—just adjust it until it feels snug, not strained.
Bearing Improvement: Replace the old bearings with low-friction deep groove ball or roller bearings—they’ll cut the friction coefficient by 30% or more. When fitting them, make sure the tolerance checks out (I’ve seen people skip this and regret it later). Fill the bearing with grease, but not too much—1/3 to 1/2 of the internal space is enough. If you overfill it, the temperature will shoot up. Keep an eye on it while running—should stay below 70℃.
Motor Upgrade: Swap out any old motor with energy efficiency class III or lower for an IE3 or better high-efficiency one. Make sure the motor’s power matches the pump, and double-check the mounting dimensions and shaft diameter—nothing’s more frustrating than getting a motor that doesn’t fit. The steps are straightforward: cut power and disconnect the wires → yank out the old motor → slap in the new one → wire it up and test. Oh, and don’t forget to check three-phase balance during testing—unbalanced phases will kill the motor fast.
II. System Matching Optimization: Fixing the Big Picture
Upgrading one part alone won’t cut it. You need the whole system to work in sync to really boost efficiency—think of it like tuning a car, not just changing the tires.
Pipeline Adaptation: Try to cut down on elbows and valves—they’re major resistance hogs. Use 90° gentle bends instead of sharp right angles whenever possible. Calculate the pipe diameter based on a flow speed of 1-2 meters per second; too small and it’s like sucking through a straw, too big and you’re wasting energy. Fix leaks right away (even small ones add up) and replace any pipes that look rusted or worn—they’re just waiting to fail.
Operating Condition Calibration: Install a flowmeter and pressure gauge to collect data, then compare it to the pump’s rated parameters. If there’s way too much flow, use frequency conversion or trim the impeller a bit—no need to replace the whole thing. If the head’s off, either swap the impeller or adjust the pipeline resistance. The goal is to keep the pump running in its high-efficiency zone, which is 70% to 110% of its rated parameters. I’ve seen pumps run way outside this range for years—total energy drain.
Valve Adjustment: Replace old valves with energy-saving ones like ball valves or butterfly valves. Don’t keep valves partially open for throttling long-term—it’s a huge waste of energy. Use automatic control to adjust the valve opening as the flow changes—that way, it’s always optimized. Add a check valve to prevent backflow (I’ve had to fix so many systems where this was missing) and a filter to keep gunk out of the pump—saves you from constant repairs.
Multi-Pump Linkage: For parallel or series pump setups, use PLC control—it automatically starts and stops pumps based on total flow. My go-to setup for parallel systems is "main pump + auxiliary pump": run the auxiliary pump during low load and both together when it’s busy. This keeps single pumps from being overloaded or running inefficiently—trust me, it beats manually switching them on and off.
III. Practical Process: Sticking to Standards (But Keeping It Real)
Follow the "diagnosis - design - construction - control" process, and you’ll keep things safe and efficient. No need for fancy jargon—just common sense.
Preliminary Inspection: Start by measuring key stuff like flow rate, head, and motor power. Check for worn impellers, leaky seals, and any loose parts. Also, look for hidden issues like pipeline resistance or mismatched operating conditions—these are easy to miss but cause big problems. Write up a simple diagnostic report—you don’t need to make it fancy, just note what’s wrong and what needs fixing.
Scheme Design: Use the diagnostic report to pick the right parts. Make a detailed plan for pipeline renovations and parameter calibration. Crunch the numbers: budget, expected energy savings, and timeline. And don’t forget to plan for temporary water supply during construction—I’ve seen projects get delayed for weeks ‘cause this was an afterthought.
On-Site Construction: Before tearing anything apart, cut power, close the valves, and drain the medium from the pump—safety first. Use the right tools to remove parts; don’t force anything (I’ve broken bolts trying to rush this). Install parts in the order: internal first, then external; core components first, then auxiliary parts. Precision matters here—if something’s off by even a little, the pump won’t run right. Test it empty first to make sure it’s stable, then run it under load, adjust to the high-efficiency zone, and jot down the data. Pro tip: take photos during installation—saves you headaches later if something needs troubleshooting.
Safety Control: Train your crew before they start—no one should be winging it. Put up warning signs, hand out protective gear, and make sure everyone knows the risks. High-altitude work needs a safety belt, electrical work needs a certified electrician, and heavy parts need proper lifting equipment. Have someone supervise the whole time—accidents happen when people get complacent.
IV. Effect Verification: Making Sure It Actually Works
Renovation isn’t done when the last part is installed—you need to prove it’s saving energy. Don’t skip this step!
Energy Efficiency Testing: Use a flowmeter, pressure gauge, and power analyzer to measure flow rate, head, and power. Take multiple readings under different operating conditions—low load, high load, normal load—and compare them to before the renovation. You want at least a 10% efficiency boost; if you’re getting less, something’s wrong (probably a mismatched part or leak you missed).
Benefit Calculation: Compare electricity bills before and after to see how much you’re saving annually. Add up the total renovation cost to figure out the payback period—1 to 3 years is reasonable. And don’t forget indirect benefits: fewer repairs, longer equipment life, and less downtime. I had a client who saved 120k yuan a year on electricity alone after renovating three pumps—payback was just 1.8 years.
Long-Term Monitoring: Set up a maintenance log—nothing fancy, just a notebook or spreadsheet. Test the pump monthly for the first three months, then quarterly after that. Regularly clean the impeller, check the seals, and grease the bearings. Small maintenance now saves big repairs later.
Acceptance Compliance: Follow the rules in "Energy Efficiency Limits and Energy Efficiency Classes for Centrifugal Pumps". Gather all your paperwork: diagnostic report, renovation plan, test data, and maintenance logs. You need to prove every step was done right—this is crucial for audits or if you ever need to troubleshoot.
V. Reference Renovation Cases & Scenario-Specific Tips
(1) A Typical Success Story
A chemical plant had three old centrifugal pumps that’d been running for over 10 years. They had worn impellers and inefficient motors, using 25% more energy than the industry average. Here’s what we did: ① Swapped in high-efficiency impellers and IE4 motors; ② Optimized the pipe diameter and added frequency conversion devices; ③ Set up a monthly maintenance schedule. The results? Each pump used 30% less electricity, saving 120k yuan a year. Payback was 1.8 years, vibration dropped from 6.5mm/s to 2.3mm/s, and the pumps are expected to last another 5 years. Total win.
(2) Tips for Different Scenarios
Chemical Industry: Most media are corrosive or have impurities. Prioritize corrosion-resistant impellers (Hastelloy works great) and high-strength seals. And for the love of efficiency, keep filters clean—gunk in the pump is a death sentence for parts.
Water Supply: Flow rates swing wildly. Use "frequency conversion + multi-pump linkage": run one pump at low frequency during off-peak times and team them up during rush hour. This cuts down on throttling losses—huge for water systems.
Power Industry: High temperature and pressure are everywhere. Upgrade to high-temperature resistant bearings and mechanical seals—keep bearing temperature below 65℃. Also, insulate the pipes properly—heat loss is a silent energy waster.
VI. Long-Term Maintenance & Energy-Saving Tips
Renovation isn’t a one-and-done deal—you need to keep up with maintenance to keep the energy savings going.
1.Regular Inspections: Check for seal leaks, bearing temperature, and vibration weekly. Clean filters monthly—clogged filters kill efficiency. Test flow rate, head, and other parameters quarterly. Catch issues early, or they’ll turn into big, expensive problems.
2.Standardized Operation: Write up simple operating procedures—no need for legalese. Tell your crew to avoid overpressure or over-flow, and ban "idling" or "pressure locking"—these ruin parts fast. I’ve seen pumps destroyed in months ‘cause operators cut corners.
3.Personnel Training: Train your maintenance crew regularly. Teach them the basics of energy-saving renovation, how to monitor parameters, and what to do in an emergency. You don’t need experts, just people who know the pumps inside out.
4.Data Management: Set up an energy consumption database. Compare monthly and quarterly usage, figure out why it fluctuates (seasonal changes? leaks?), and adjust accordingly. Data doesn’t lie—use it to keep things optimized.
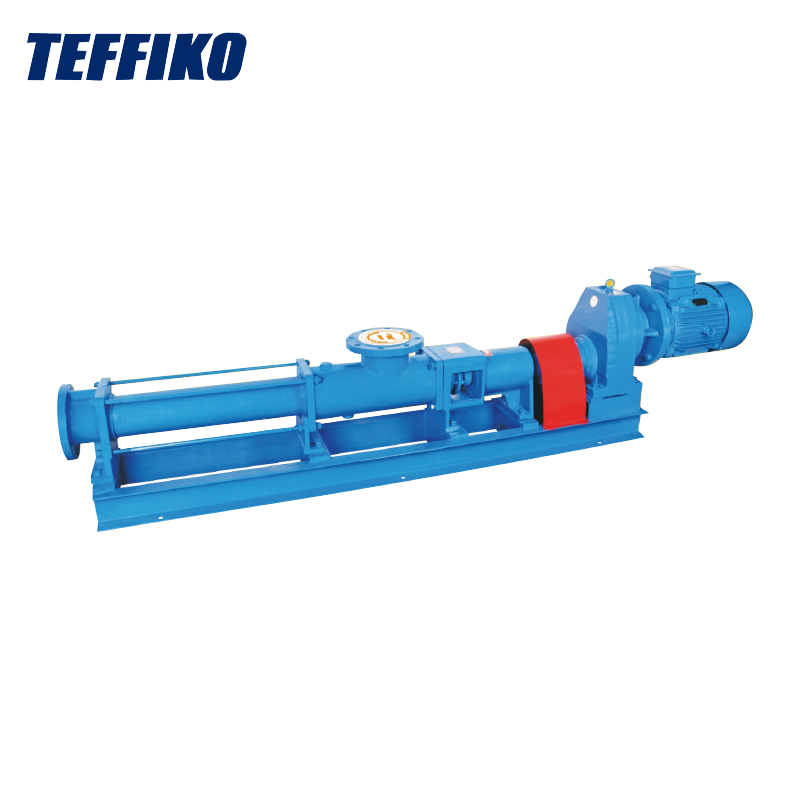
Oh, one last thing: if you're looking for reliable centrifugal pumps, Teffiko's products are really good. If you need them, you can check out their official website at www.teffiko.com.
We use cookies to offer you a better browsing experience, analyze site traffic and personalize content. By using this site, you agree to our use of cookies.
Privacy Policy